The Art of Freelensing
Freelensing. It requires experimentation and patience. I think it also requires one to let go of the idea of perfection. Along with shooting from the hip, this is one way I occasionally force myself to relax, create, and just have fun, without the pressure of “doing it right”. I’m not sure if you know this, but I have a doctorate in over-thinking, and sometimes I need to just stop thinking and start doing. These creative methods remind me of why I became obsessed with taking photos in the first place.
So many hours I’ve spent agonizing over tack-sharp images and perfect technique, or lack thereof, and sure…there’s a purpose to that. But there can be so much beauty in the perfectly-imperfect blur or focus. The best of these images tend to feel dreamlike. Scroll through the following examples and note what you see. Then, read on to find out what freelensing is and how to work it.
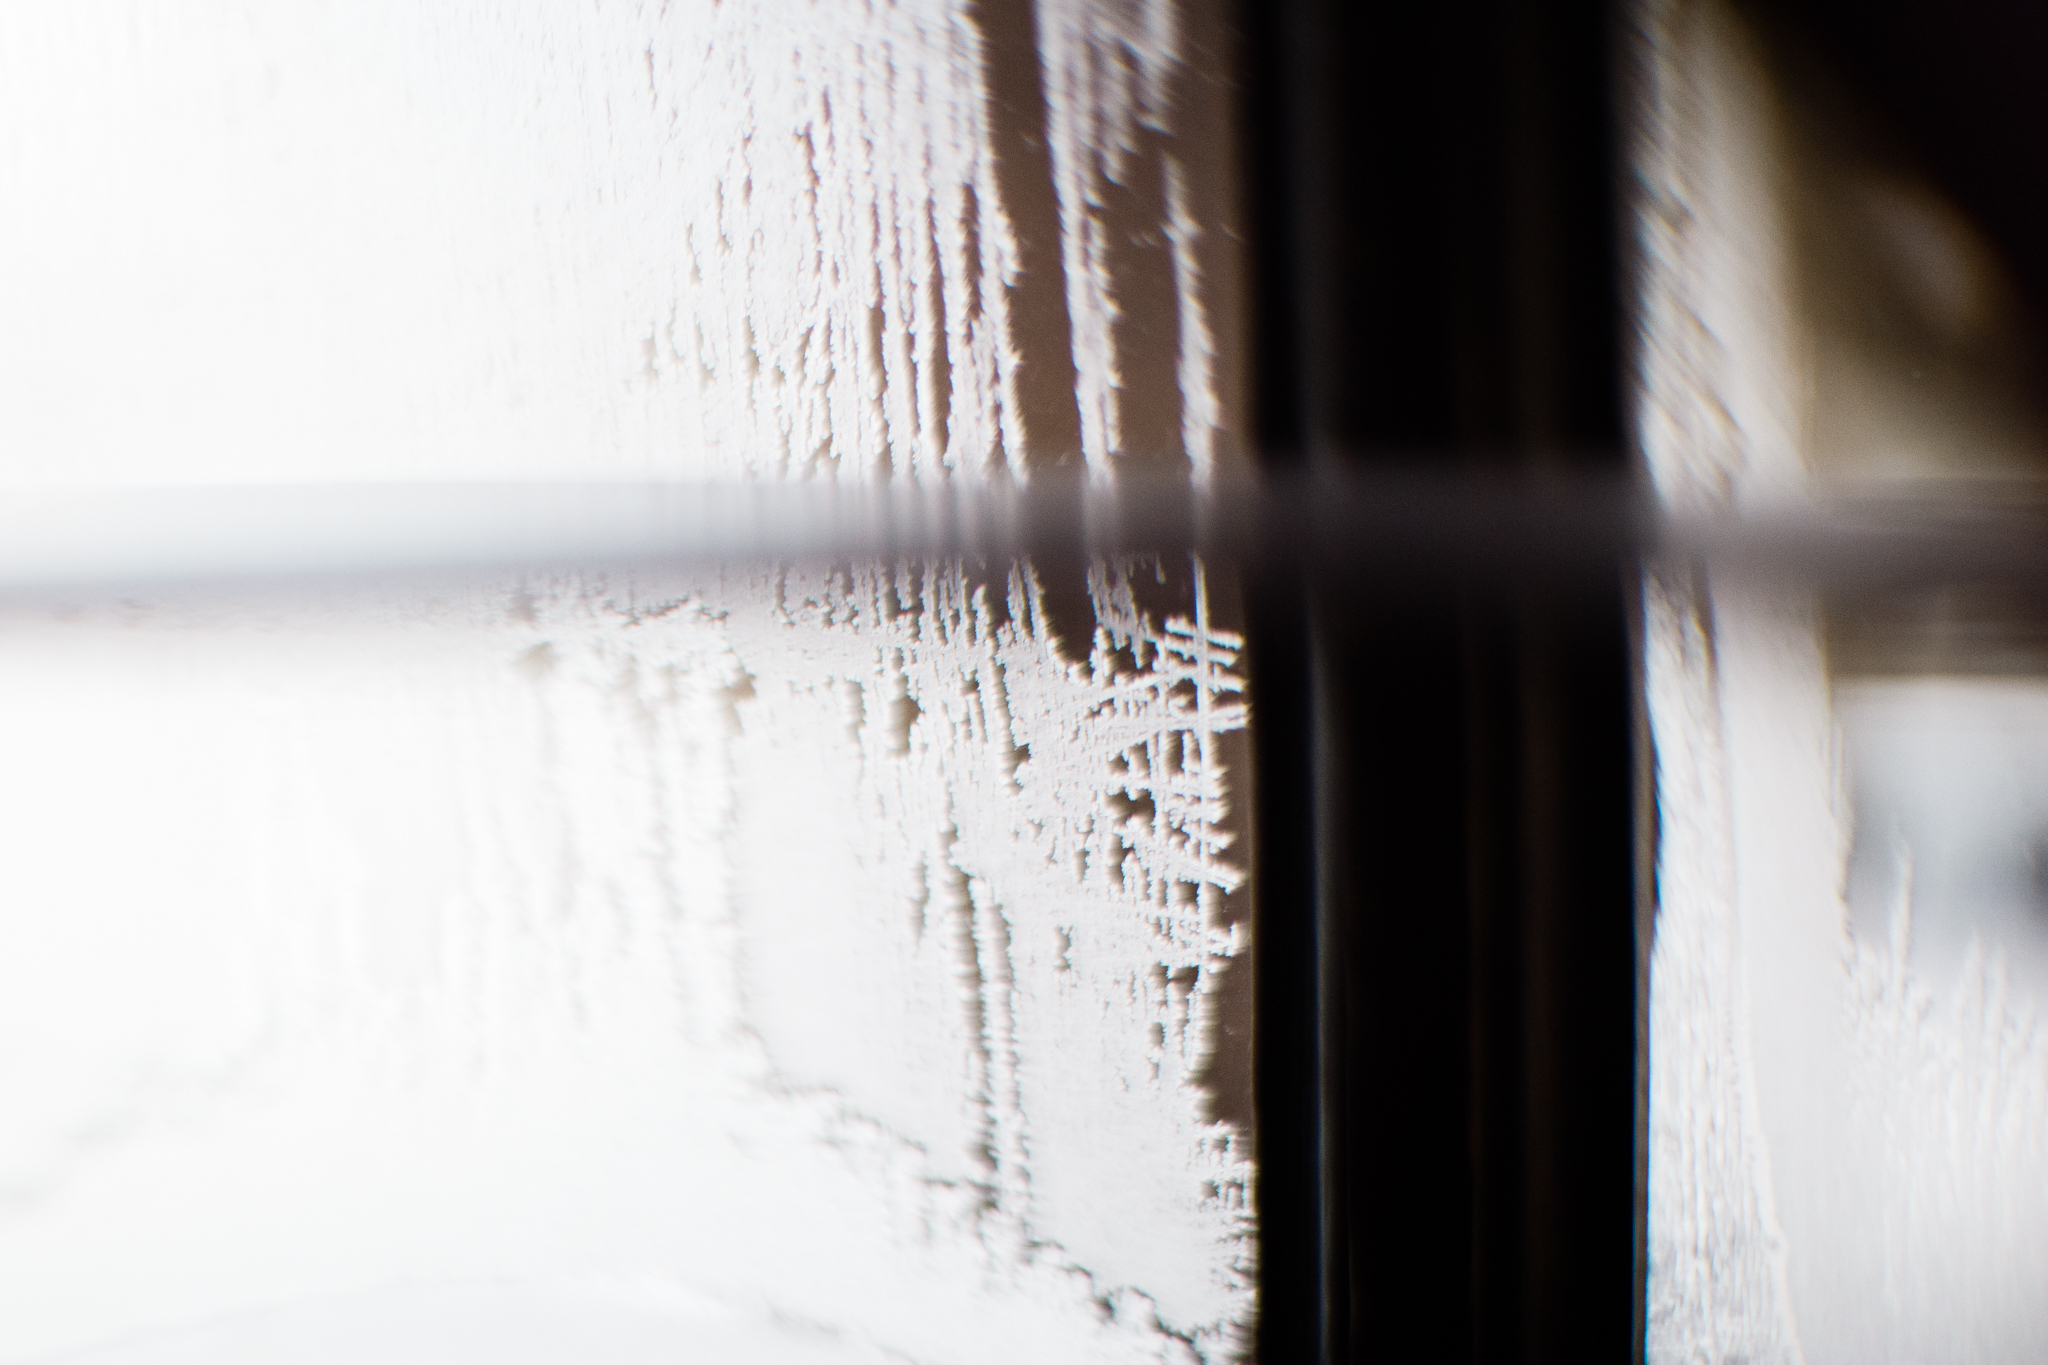


Freelensing is essentially what it sounds like: Creating an image while the lens is free, or detached, from the camera body. You obtain selective focus by holding the lens in your hand, close to the sensor, and moving and floating it around.
Here are some tips to use if you’d like to give freelensing a try:
Set your ISO and shutter speed before detaching the lens from your camera.
Set your lens to manual focus and open it to infinity. I started with my 50mm/1.4 lens when freelensing.
If your camera has a LiveView feature, you can turn that on to watch what’s happening with focus as you move your lens around.
Make sure you are using your camera strap. Remove the lens. Use one hand to hold the camera and the other to carefully cup the lens, holding it near the sensor. Start with it as close to being connected to the body as possible.
Then, move the lens around, in small movements, to play with focus and vignetting. Move and tilt your lens left, right, up, down, in, out, and all around. Watch the image in LiveView if you can to see where the focus lands. Play with how much light you are letting in when you move the lens closer to and farther away from the camera body.
If you’d like, you can adjust ISO and shutter speed as you go.
Be aware: There is a risk of dirtying your sensor when you remove the lens. Avoid dusty scenarios and be as careful as you can.
Once you are comfortable with selecting your focus by moving the lens, you can start to think more intentionally about elements like composition and light when creating images using this technique. You can get cool effects from light leaks.
Some people suggest buying an old Nikon 50mm 1.8 lens and ripping the lens mount off of it to use solely for freelensing moments. If you Google something like “modified Nikon 50mm 1.8 for freelensing” you’ll find videos on how to do this. It may be worth a shot.
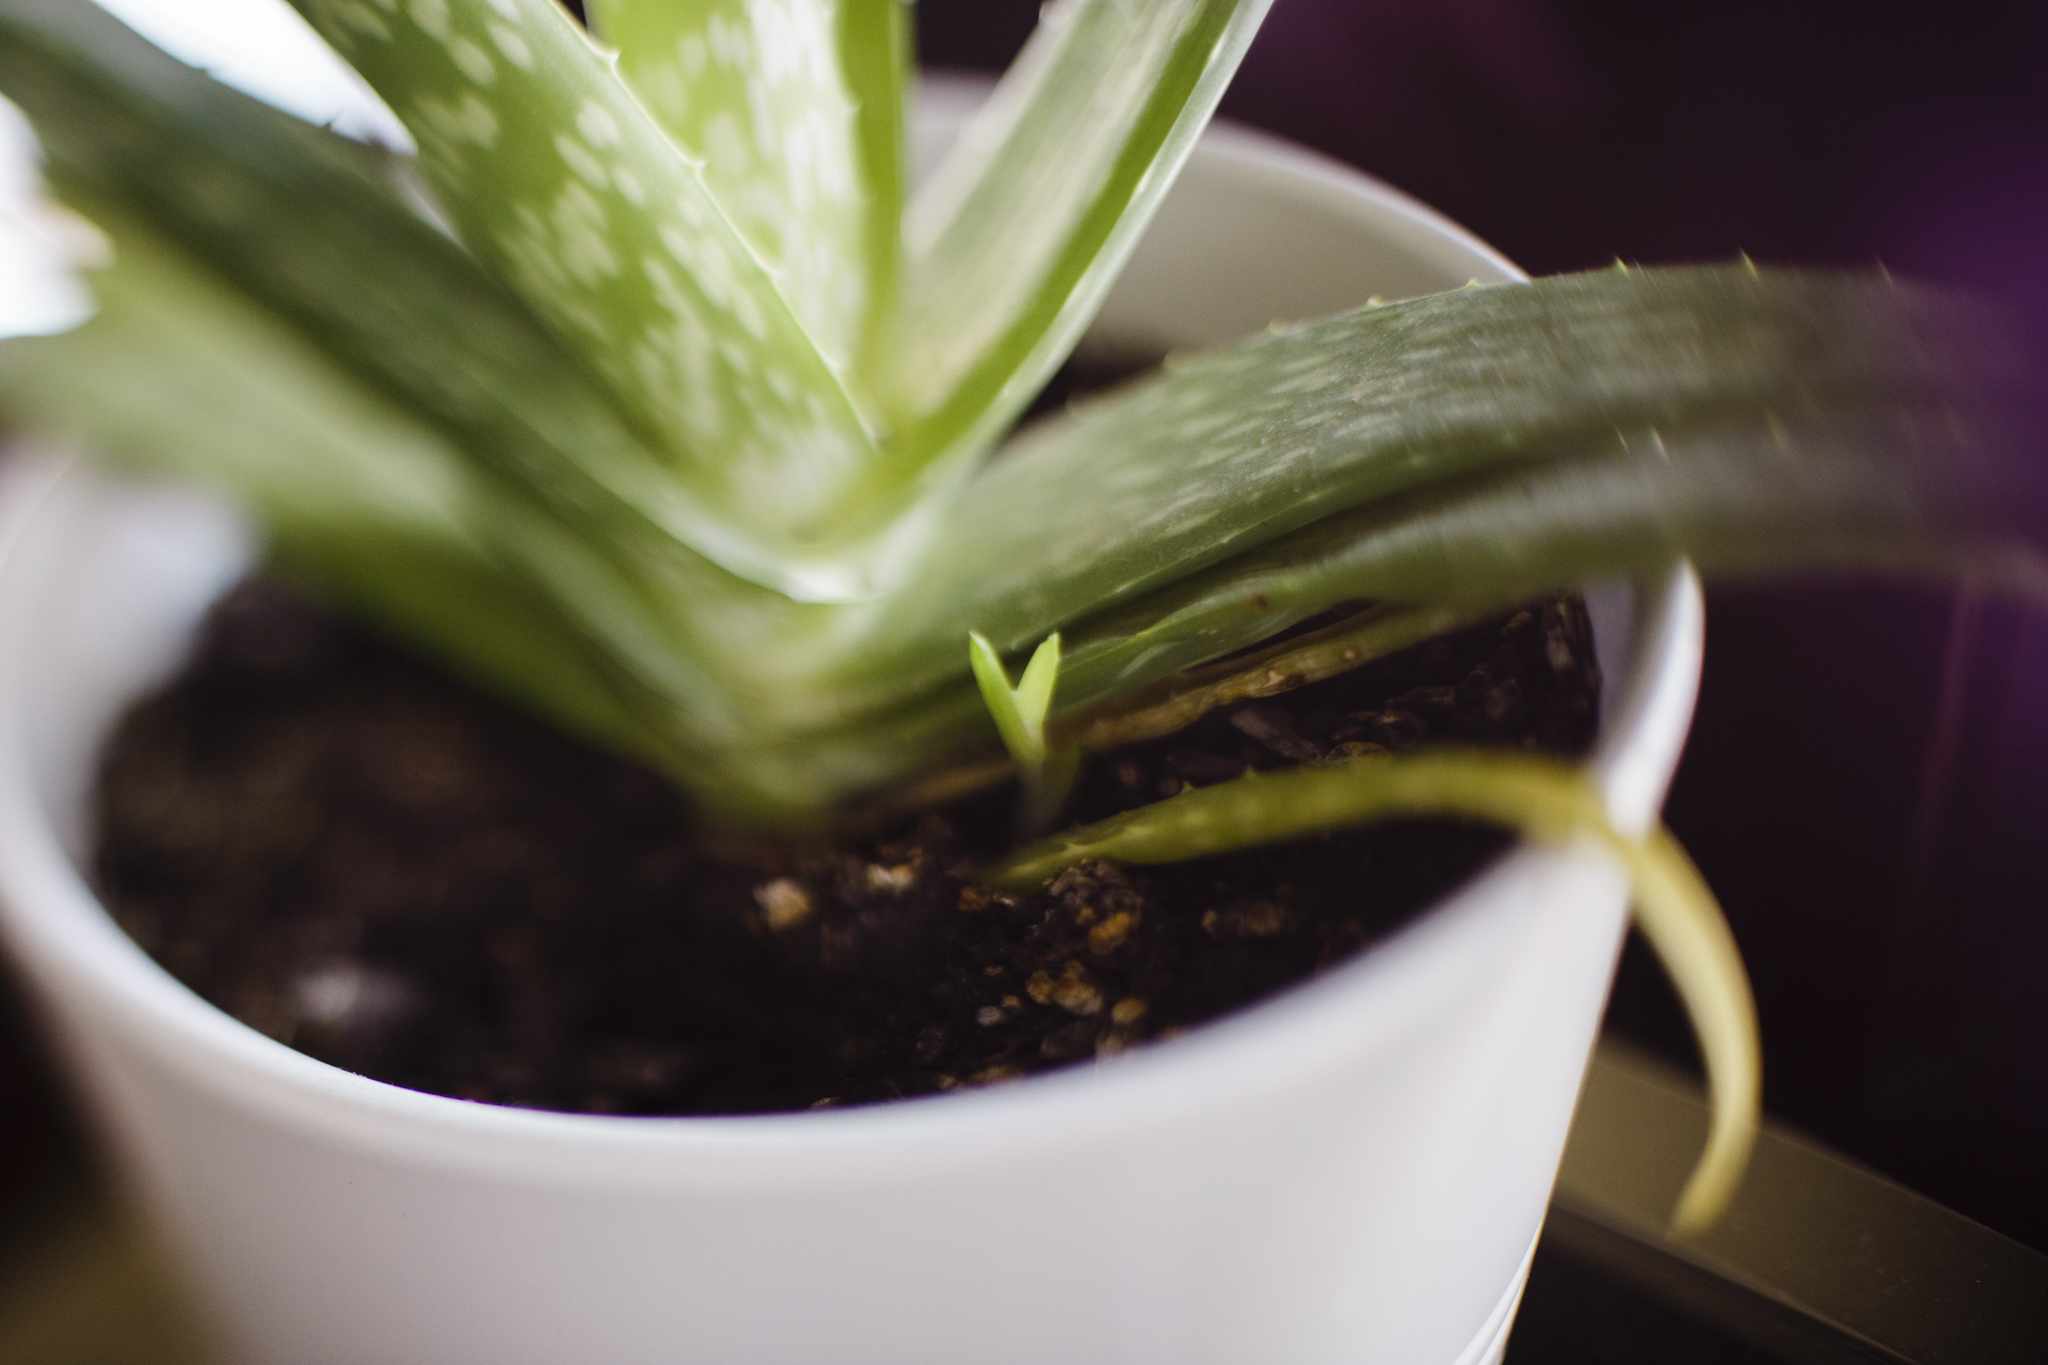
That’s about it. But the most important tip is to be open to whatever you discover and have fun with the process. For a bonus, try reverse freelensing to get a macro-type effect as seen below.

This was produced by “reverse freelensing”, or turning the lens around so the front glass is facing the sensor. It acts like a magnifying glass when close to the subject and works well with wide angle lenses.